Creating a Booking Product
Step by Step Guide
Navigate to the “Booking” tab in your Vendor Dashboard and then select “add New Booking Product”. 
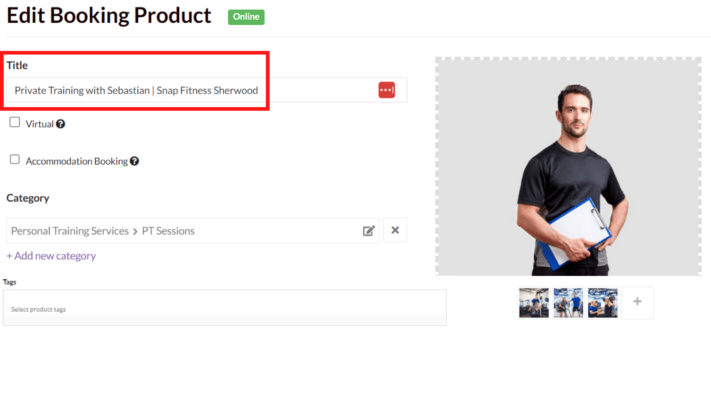
Enter the title of your booking here. This will show up in searches and on your store page, so make sure customers know what’s being offered and where.
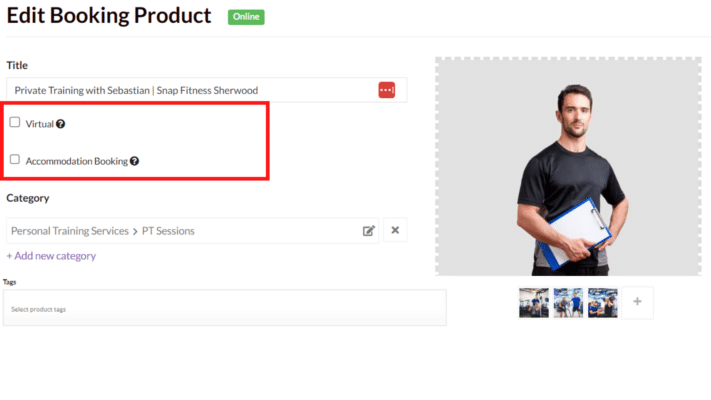
Leave the “virtual” and “accomodation booking” tickboxes unchecked.
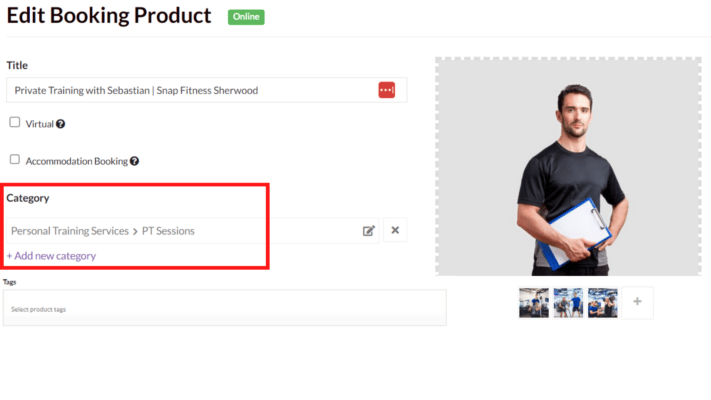
Add the category or categories that most apply to the product you’re offering. In this case, we’re selecting “PT Sessions” under the “personal Training Services tab.
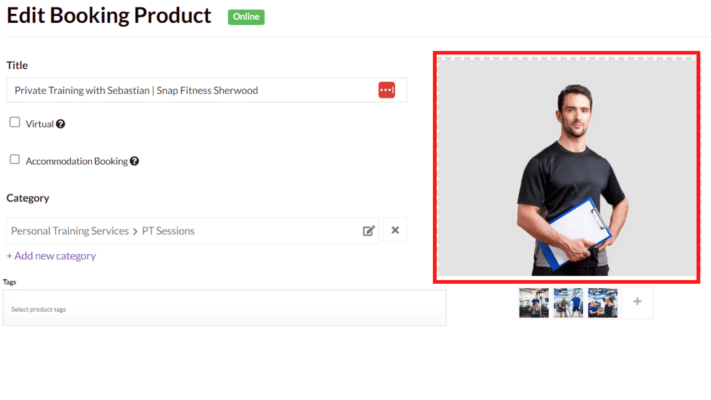
Add a primary image. This is the image that will show up on your product listing.
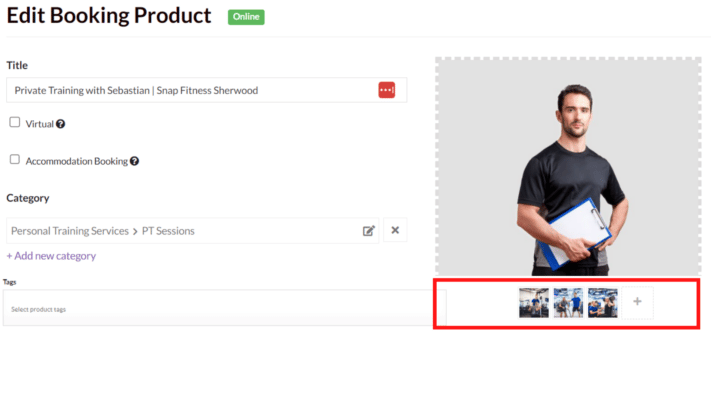
You can also add secondary images that customers can view after selecting your product. This is a proven way to increase customer trust and conversion rates.
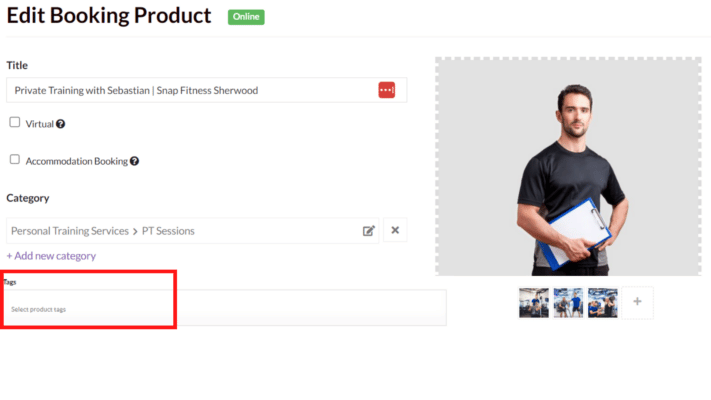
Leave the “Tags” section empty. This will be a future Gym Booking option.
Under “Booking duration”, enter the length of each booking. This can be entered as minutes or hours. For this booking, we will be offering customers a 50 minute PT session.
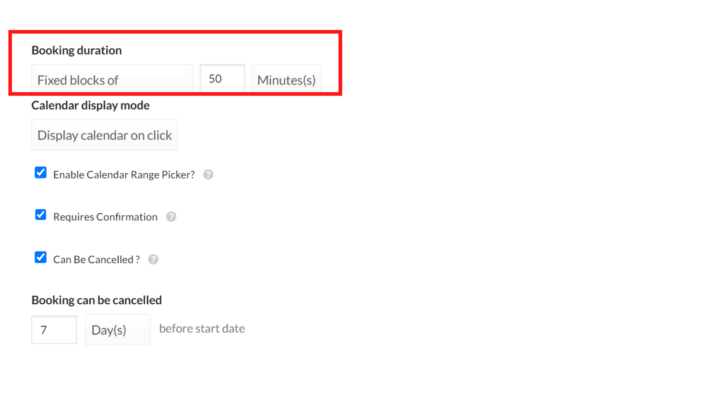
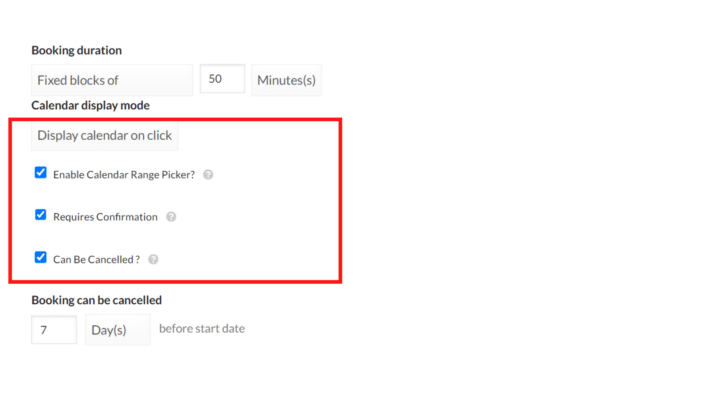
Make sure to tick the “enable calendar range picker”. This gives customers the ability to select their preferred session time. Once an order has been placed for a certain time, it will become unavailable for other customers so you don’t need to worry about overbookings.
“Requires Confirmation” gives you the ability to confirm orders once placed. If you leave this unticked, customers that place an order will receivce an order confirmation automatically.
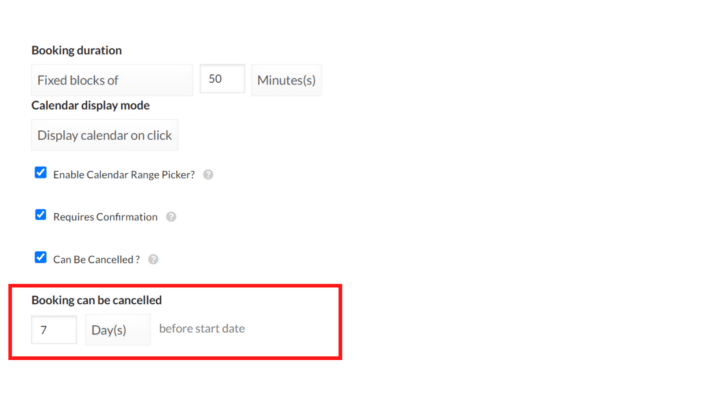
To give customers the option to cancel and reschedule appointments, tick the “can be cancelled” box, and choose the minimum amount of time that a booking can be cancelled.
To give customers the option to cancel and reschedule appointments, tick the “can be cancelled” box, and choose the minimum amount of time that a booking can be cancelled. For example, here we have used 7 days. This means that a customer cannot make cancellations within 7 days of the booking time. It’s important to maintain balance here to provide great customer service while not leaving you out of pocket for late cancellations.
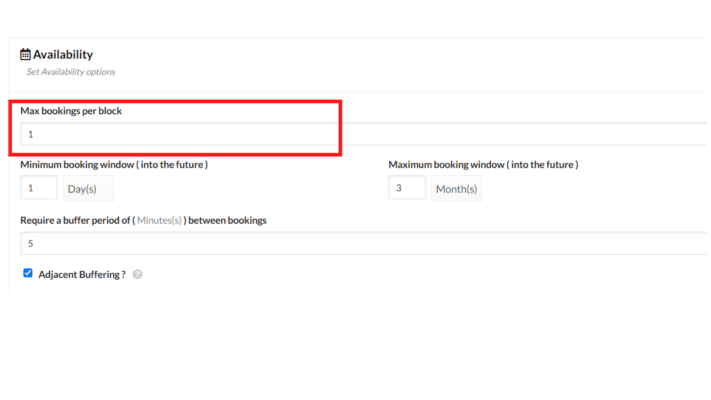
The “max bookings per block” represents the number of customers that can make a booking at the same time. For example, this product is a 1 on 1 pt session, so the maximum number of bookings per block is 1. However, if you were creating a boot camp class and have enough space and equipment for up to 20 people at once, you’d enter 20. This would keep the booking open to customers until you have 20 bookings, at which time it would be marked as “sold out” for that class or time slot.
The “minimum booking window” represents the minimum amount of notice a customer can book your product. In this case, we have set the minimum booking window as 1 day. This means no new bookings can be made within 24 hours of any given time slot. This stops customers from making bookings with not enough notice for you to schedule your time.
In contrast, “maximum booking window” is the length of time customers can book into the future.
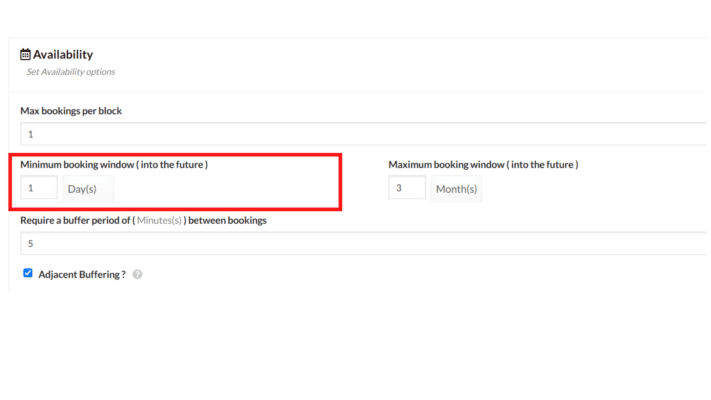
The “buffer period” between bookings represents the buffer time you have between bookings. In this case, we have set the buffer time as 5 minutes and ticked the “adjacent buffering”. This gives a 5-minute window before and after each booking which cannot be booked, for a total of 10 minutes between sessions. As this product is a 50-minute PT session, if a customer made a booking for 1:00pm until 1:50pm, the earliest time frame that another customer could make a booking would be 2:00pm.
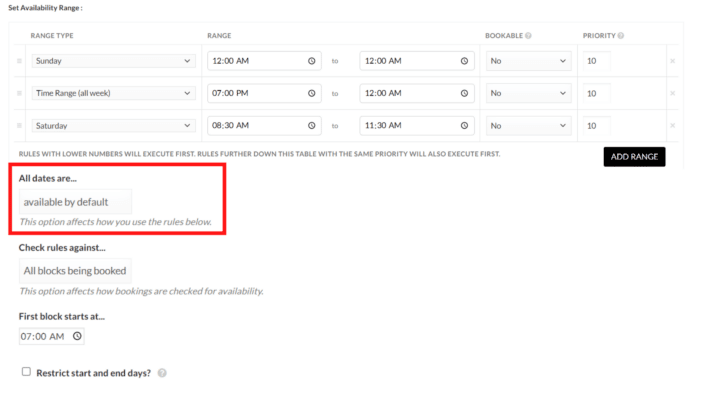
All dates are…
Under the “all dates are” section, you can select between “available by default” or “unavailable by default”. For this example, we have chosen to leave all dates available by default and choose the specific times in which to exclude bookings. If this was a specific class, we would choose to make dates unavailable by default and only allow the specific class time.

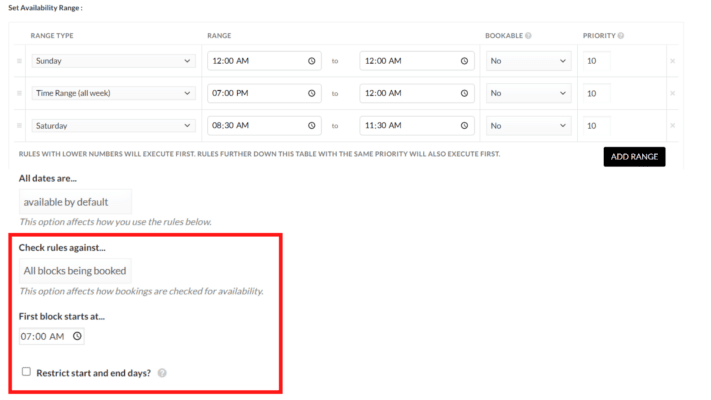
Check Rules Against…
For “check rules against”, select “all blocks being booked”.
Under “First block starts”, select the earliest starting time for a booking. In this example, we have chosen 7:00am, meaning customers cannot make bookings before 7:00am.
Leave “restrict start and end days unchecked”.
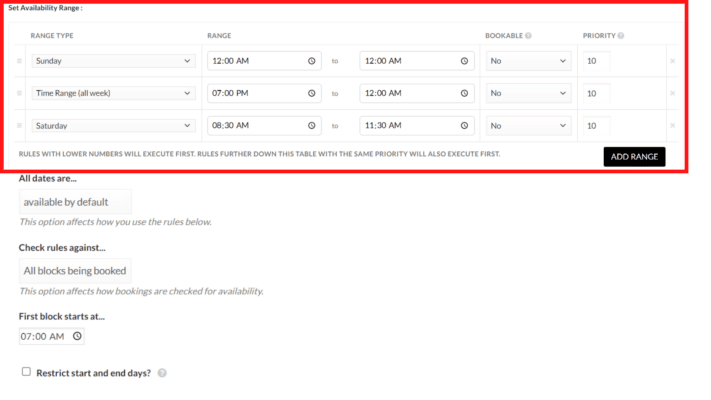
Availability Range
The “set availability range” is where we can disable specific times or enable specific times. Since we made all dates available by default, in this example, we need to select the time ranges we don’t want available.
For this product, we have disabled all of Sunday. To do this, we selected “No” under bookable, and set the time range from 12 to 12. In other words, no bookings can be made on Sunday.
We’d also like to reject bookings past 7:00pm. To do this, we selected “all week”, set the time-range from 7 until midnight, and selected “no” for “bookable”.
We’d also like run a boot camp class on Saturday mornings and reject PT bookings. To do this, we have disabled bookings for between 8:30 and 11:30am on Saturdays.
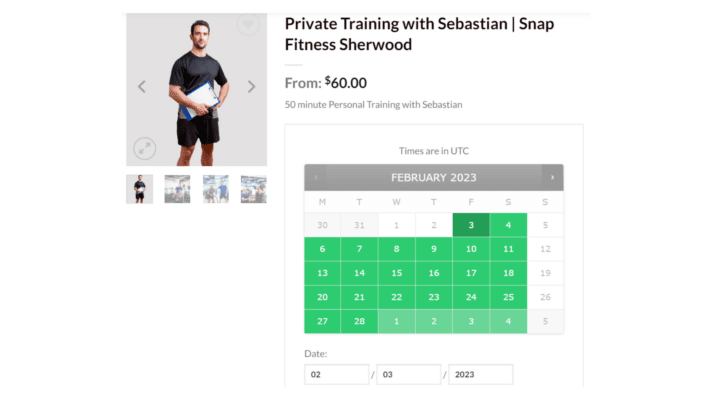
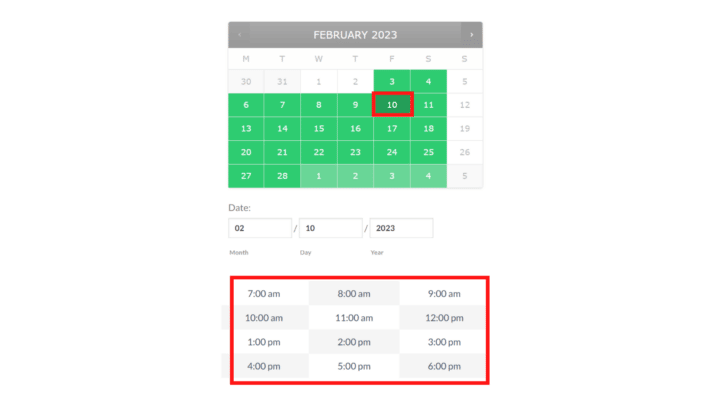
In summary, we have made all dates available from 7:00am to 7:00pm except Saturday mornings and all of Sunday. When we check our completed product, the calendar is represented by these settings.
How this looks…
Monday to Friday’s is available between 7 and 7.
Saturdays are disabled between 8:30 and 11:30 for our boot camp class,
and Sunday is disabled.
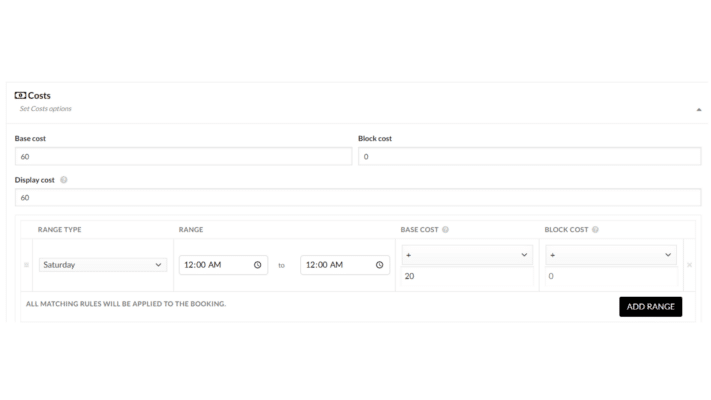
Under the “Cost section”, we have “Base Cost”, “Block Cost” and “Display Cost”. The Base cost is the cost of making any booking regardless of length, while the block cost represents the cost of each “50-minute session”. Distinguishing between these can be useful for setting higher prices for certain time periods. In this example, we have made the price of bookings on Saturdays $20 more than weekdays.
The display price is simply the priced that shows up on your product listing. We recommend this price is representative of the standard pricing.
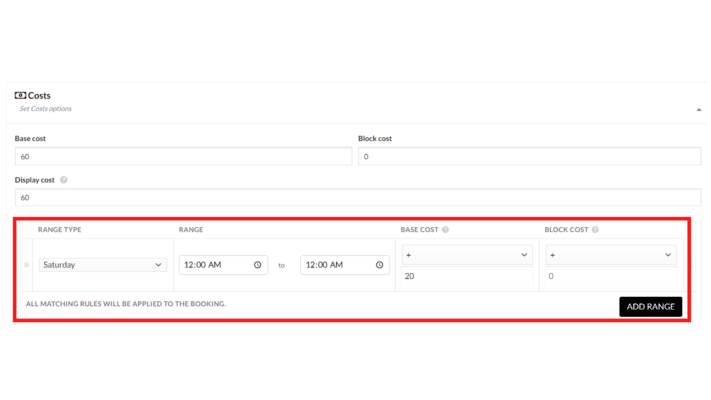
We can charge additional costs for specific times using the range selector. In this example, we have chosen to charge an extra $20 on Saturdays.
Another option is to charge extra for competitive booking slots eg. 5-7pm.
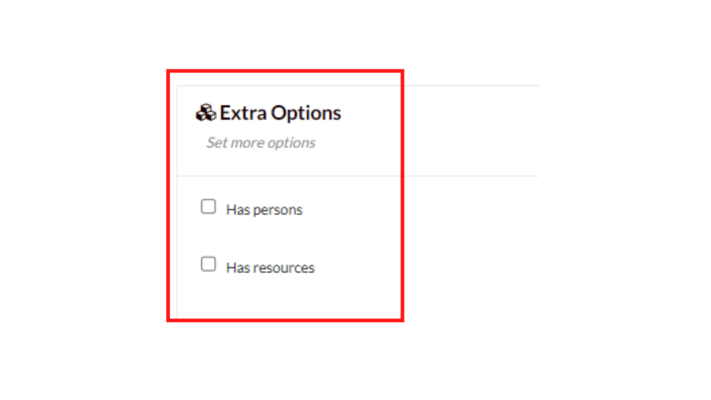
“Persons” and “Resources” are advanced features that will be covered in another tutorial. These settings are not relevant for most PT sessions and are unticked in this example.
Short Description
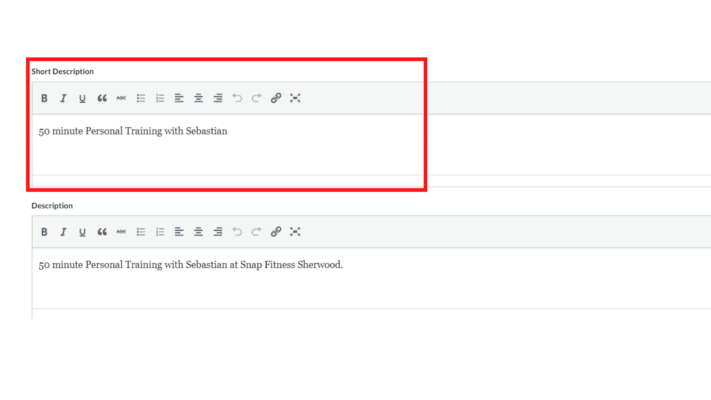
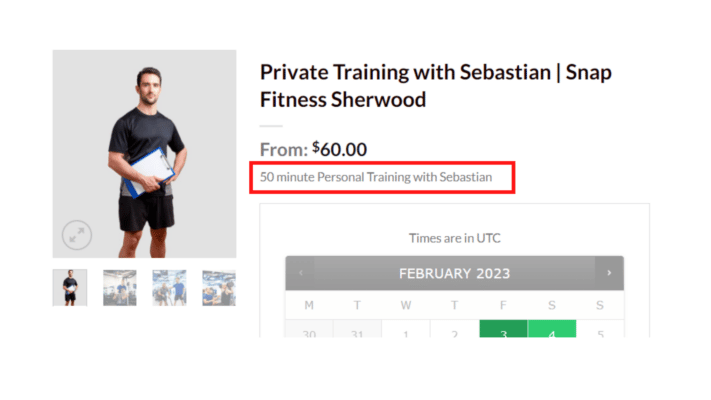
The “short description” is the primary text displayed on a product. This should show the most important information only.
Long Description
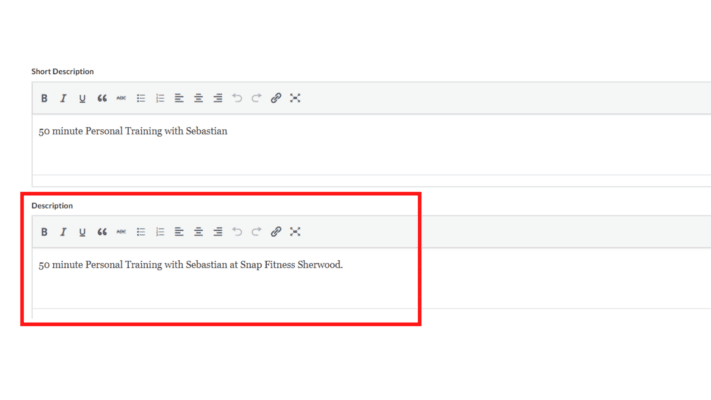
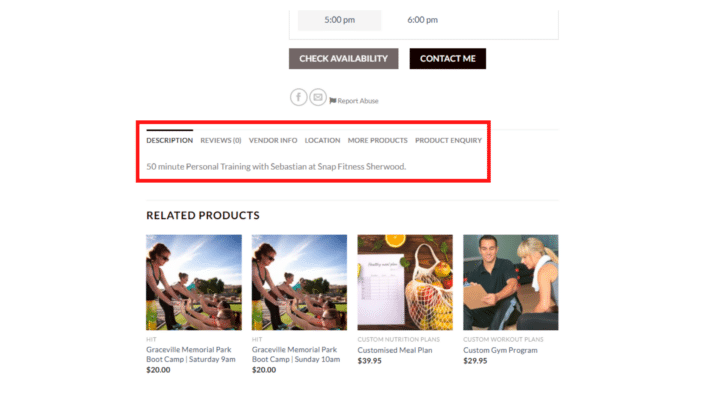
Additional information can be written in the “description” section. This text is displayed under the product.
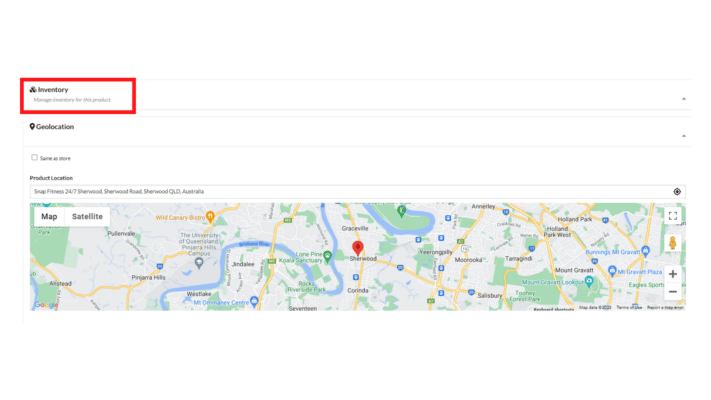
Inventory can be ignored for bookable products but is a useful feature if you intend to sell your own fitness equipment or apparel.
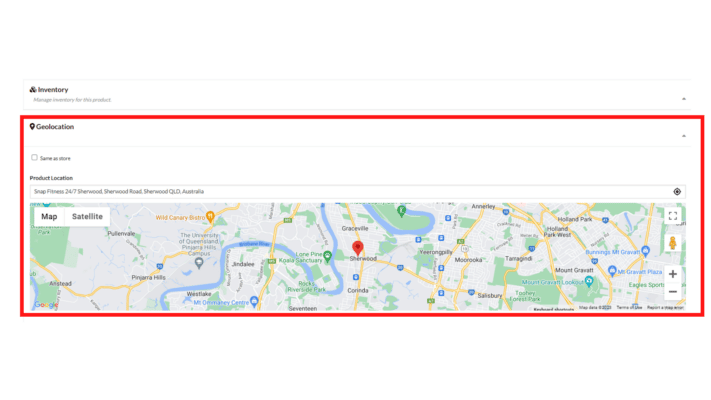
Once you have saved your product, you may re-edit it. A geolocation and “other options” tab will become editable. Geolocation is an extremely important part of your product. This will determine where your product shows up on our map. If this is wrong, you won’t reach your target audience. The geolocation of your product can be set to your “store” or “base” location or customised elsewhere. This is a valuable tool if you intend on holding classes at different venues or parks.
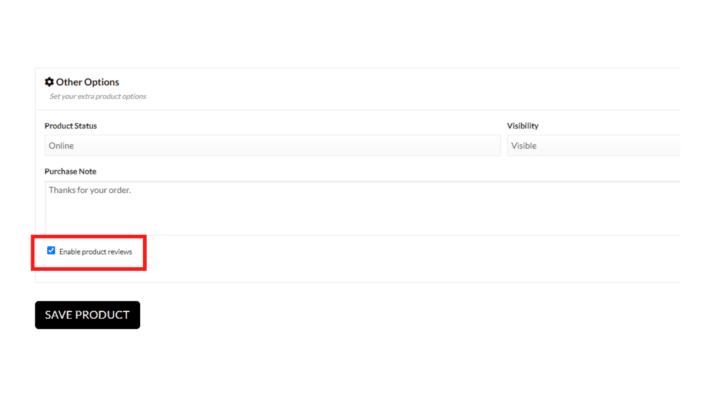
The purchase note is the text that your customers will receive with their order confirmation upon booking. This is a useful way to communicate specific notes or requirements for their booking.
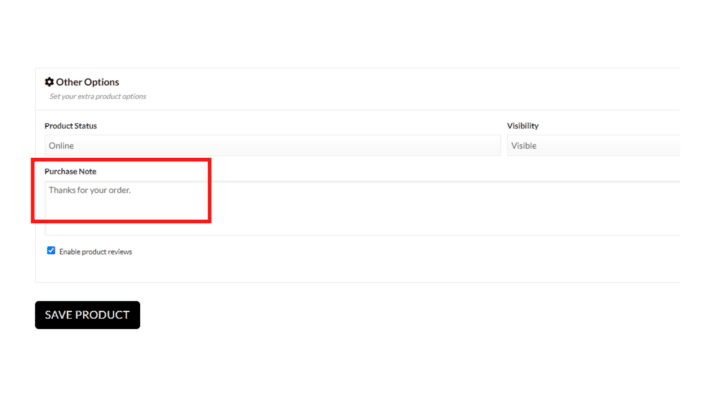
Lastly, we give you the option for enabling reviews on your products. This is a proven way to increase trust, and new customers.
